
Okay, I admit, that title is a bit clickbait-y. But if you’ve read any dirt bike forum about the YZ250X you’ve inevitably come across the governor mod, or most widely referred to as the “powervalve mod”. Like the Mike Alessi shirts from 2004 said, Believe the Hype!
For those unfamiliar, the governor modification involves simply removing a specific washer from the governor assembly. It’s commonly called the powervalve mod but as those who know a lot more about this than me have said, you’re actually modifying the governor. The washers dictate how much preload is put on the spring controlling the governor. This, in turn, changes the RPM in which the powervalve opens or closes which affects the characteristics of the engine and is probably why it’s also referred to as the powervalve mod. This mod is said to smooth out an abrupt hit of power through the midrange of the powerband while also giving a bit of a seat-of-the-pants increase in horsepower.
If you want to get a full understanding, scroll through the ThumperTalk forums that I discovered this information on for yourself:
https://thumpertalk.com/forums/topic/1350185-yz250x-governorpv-mod/ “95jersey: Anyone with an X who hasn't done the PV mod is missing out on the single best enhancement on this bike. It is absolutely indisputable improvement for any terrain. Riding an X without the PV mod is like using an iPhone to just make phone calls...lol.”
https://thumpertalk.com/forums/topic/1261836-yz250x-power-valve-governor-mod/
https://thumpertalk.com/forums/topic/1348113-yz250x-governor-mod/ “Kinger317: Look at a parts diagram for the 125, that’s how you want it.”
As far as a how-to, it’s hard to piece together one full step-by-step guide to performing this mod. I found a pretty thorough video of the governor mod itself on a YouTube channel called C&W DirtVentures, the video is called YZ250x Governor/Power Valve Mod.
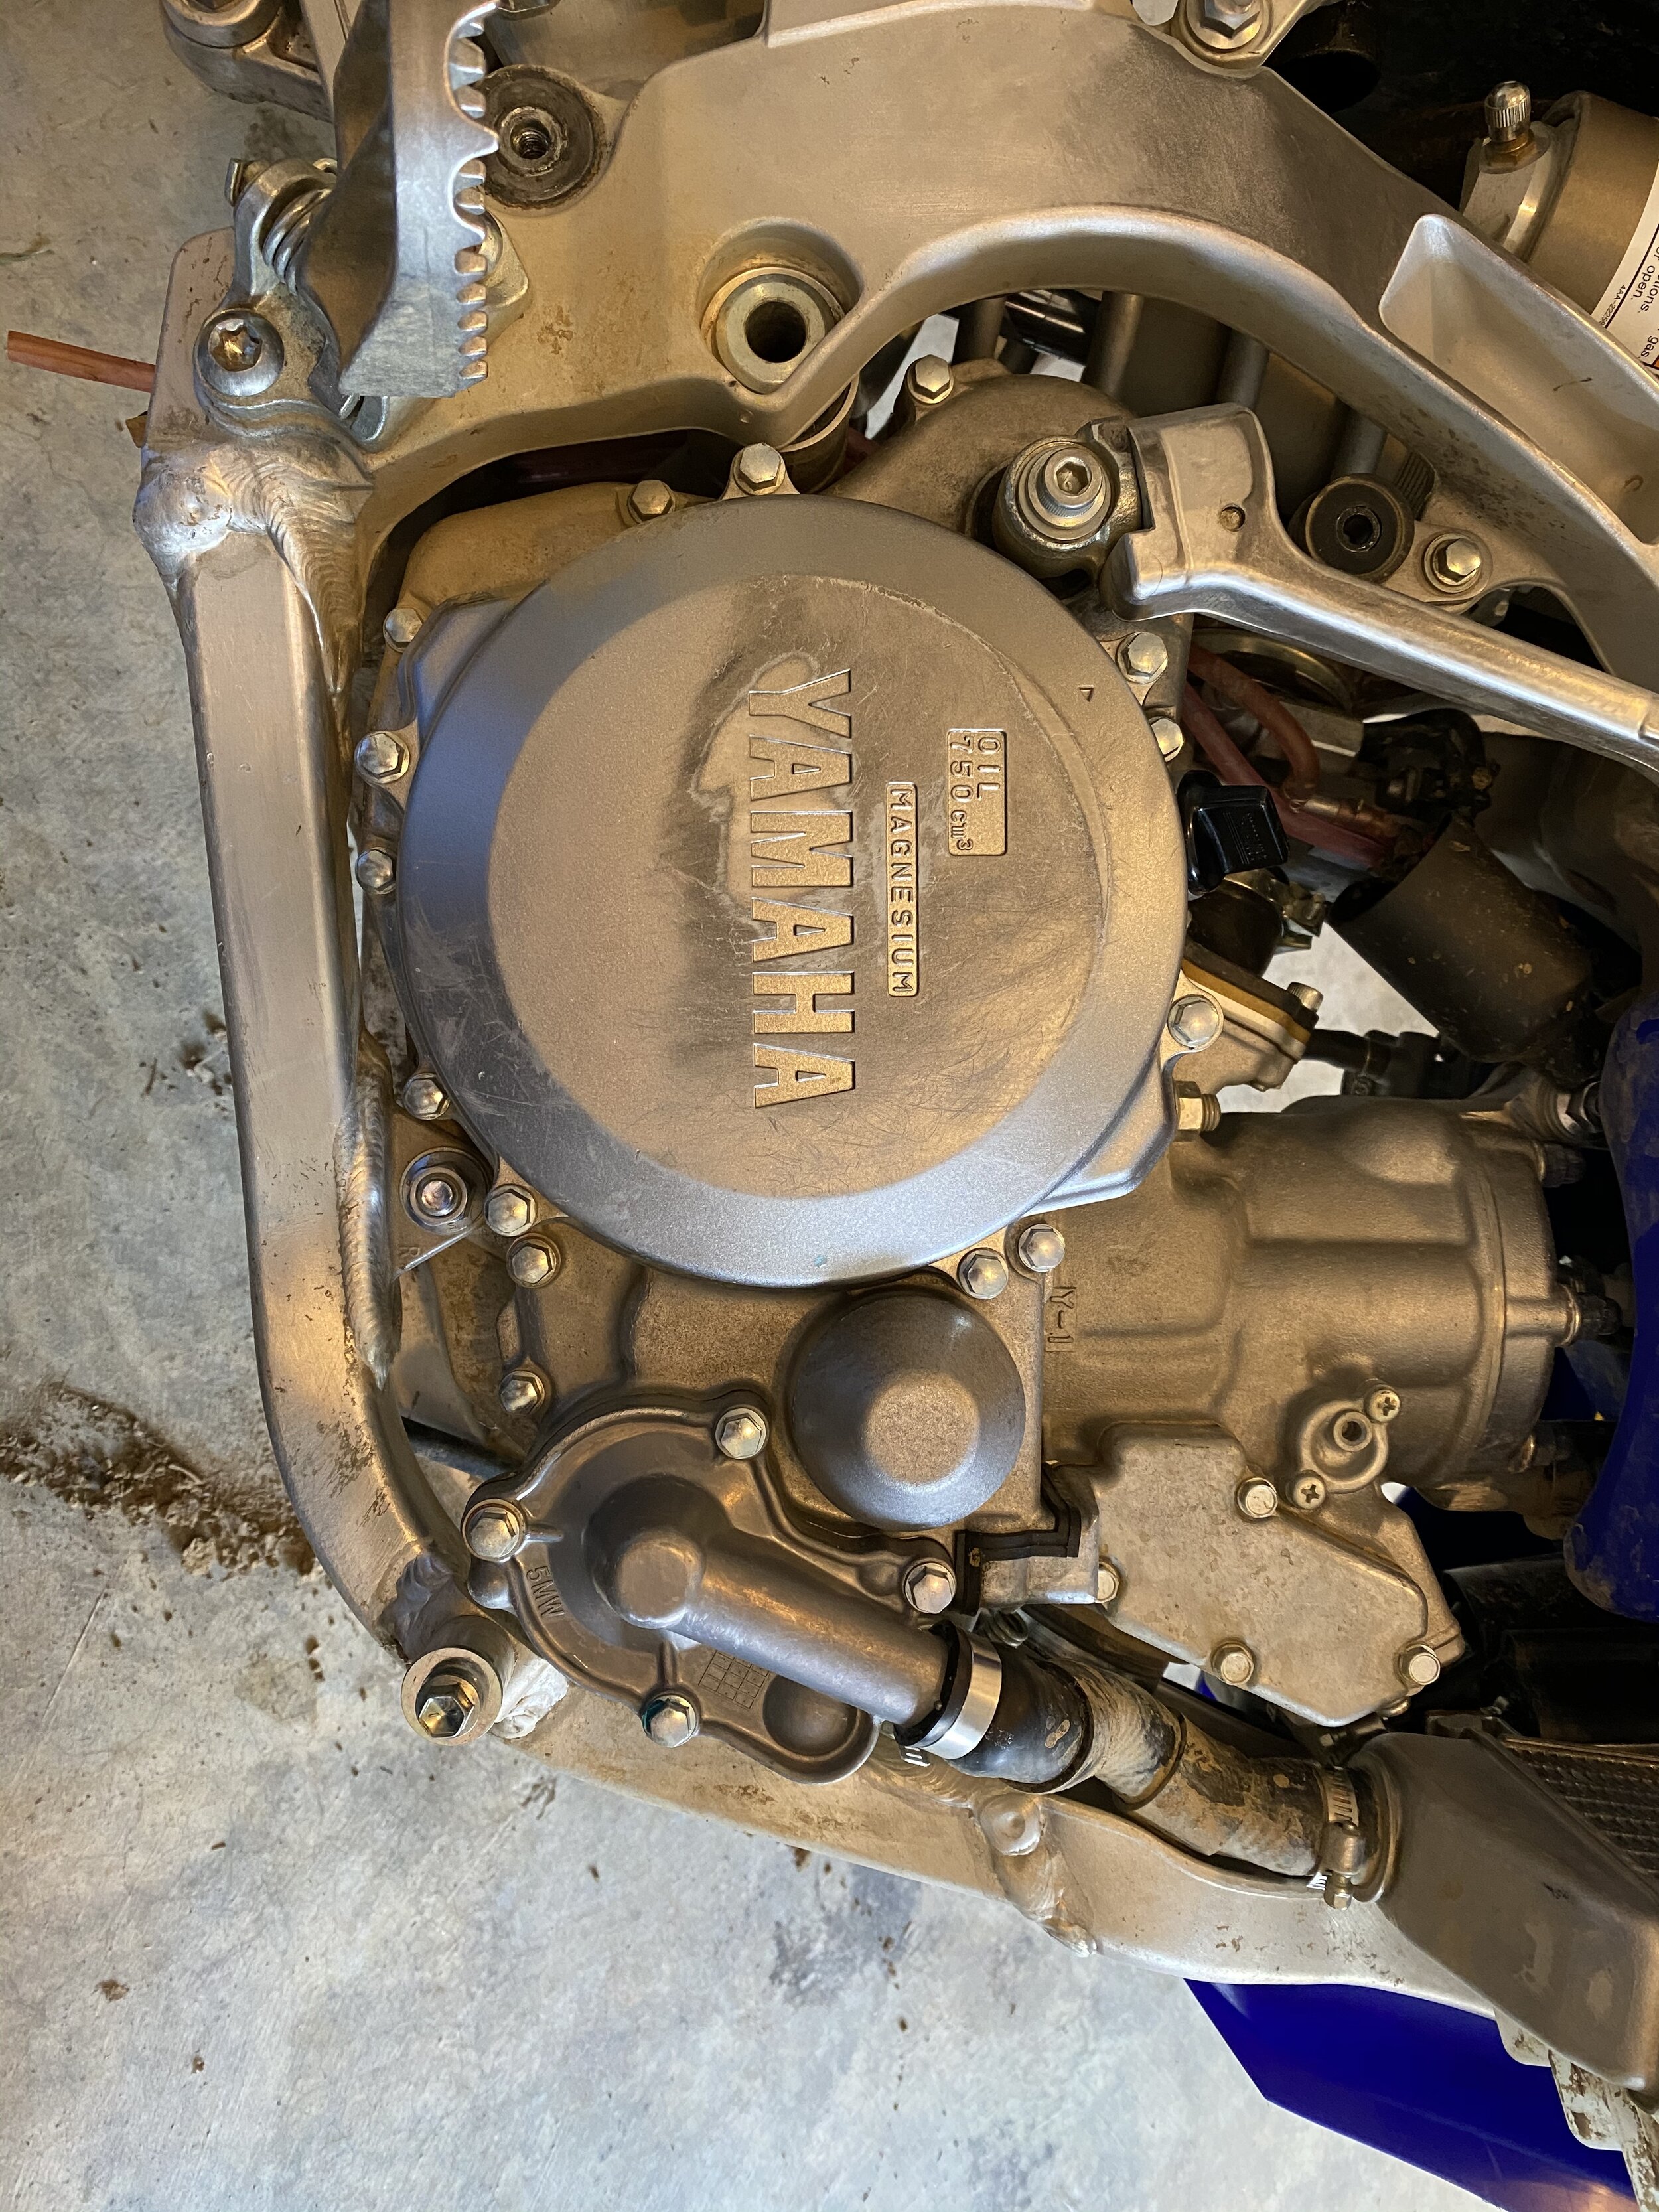
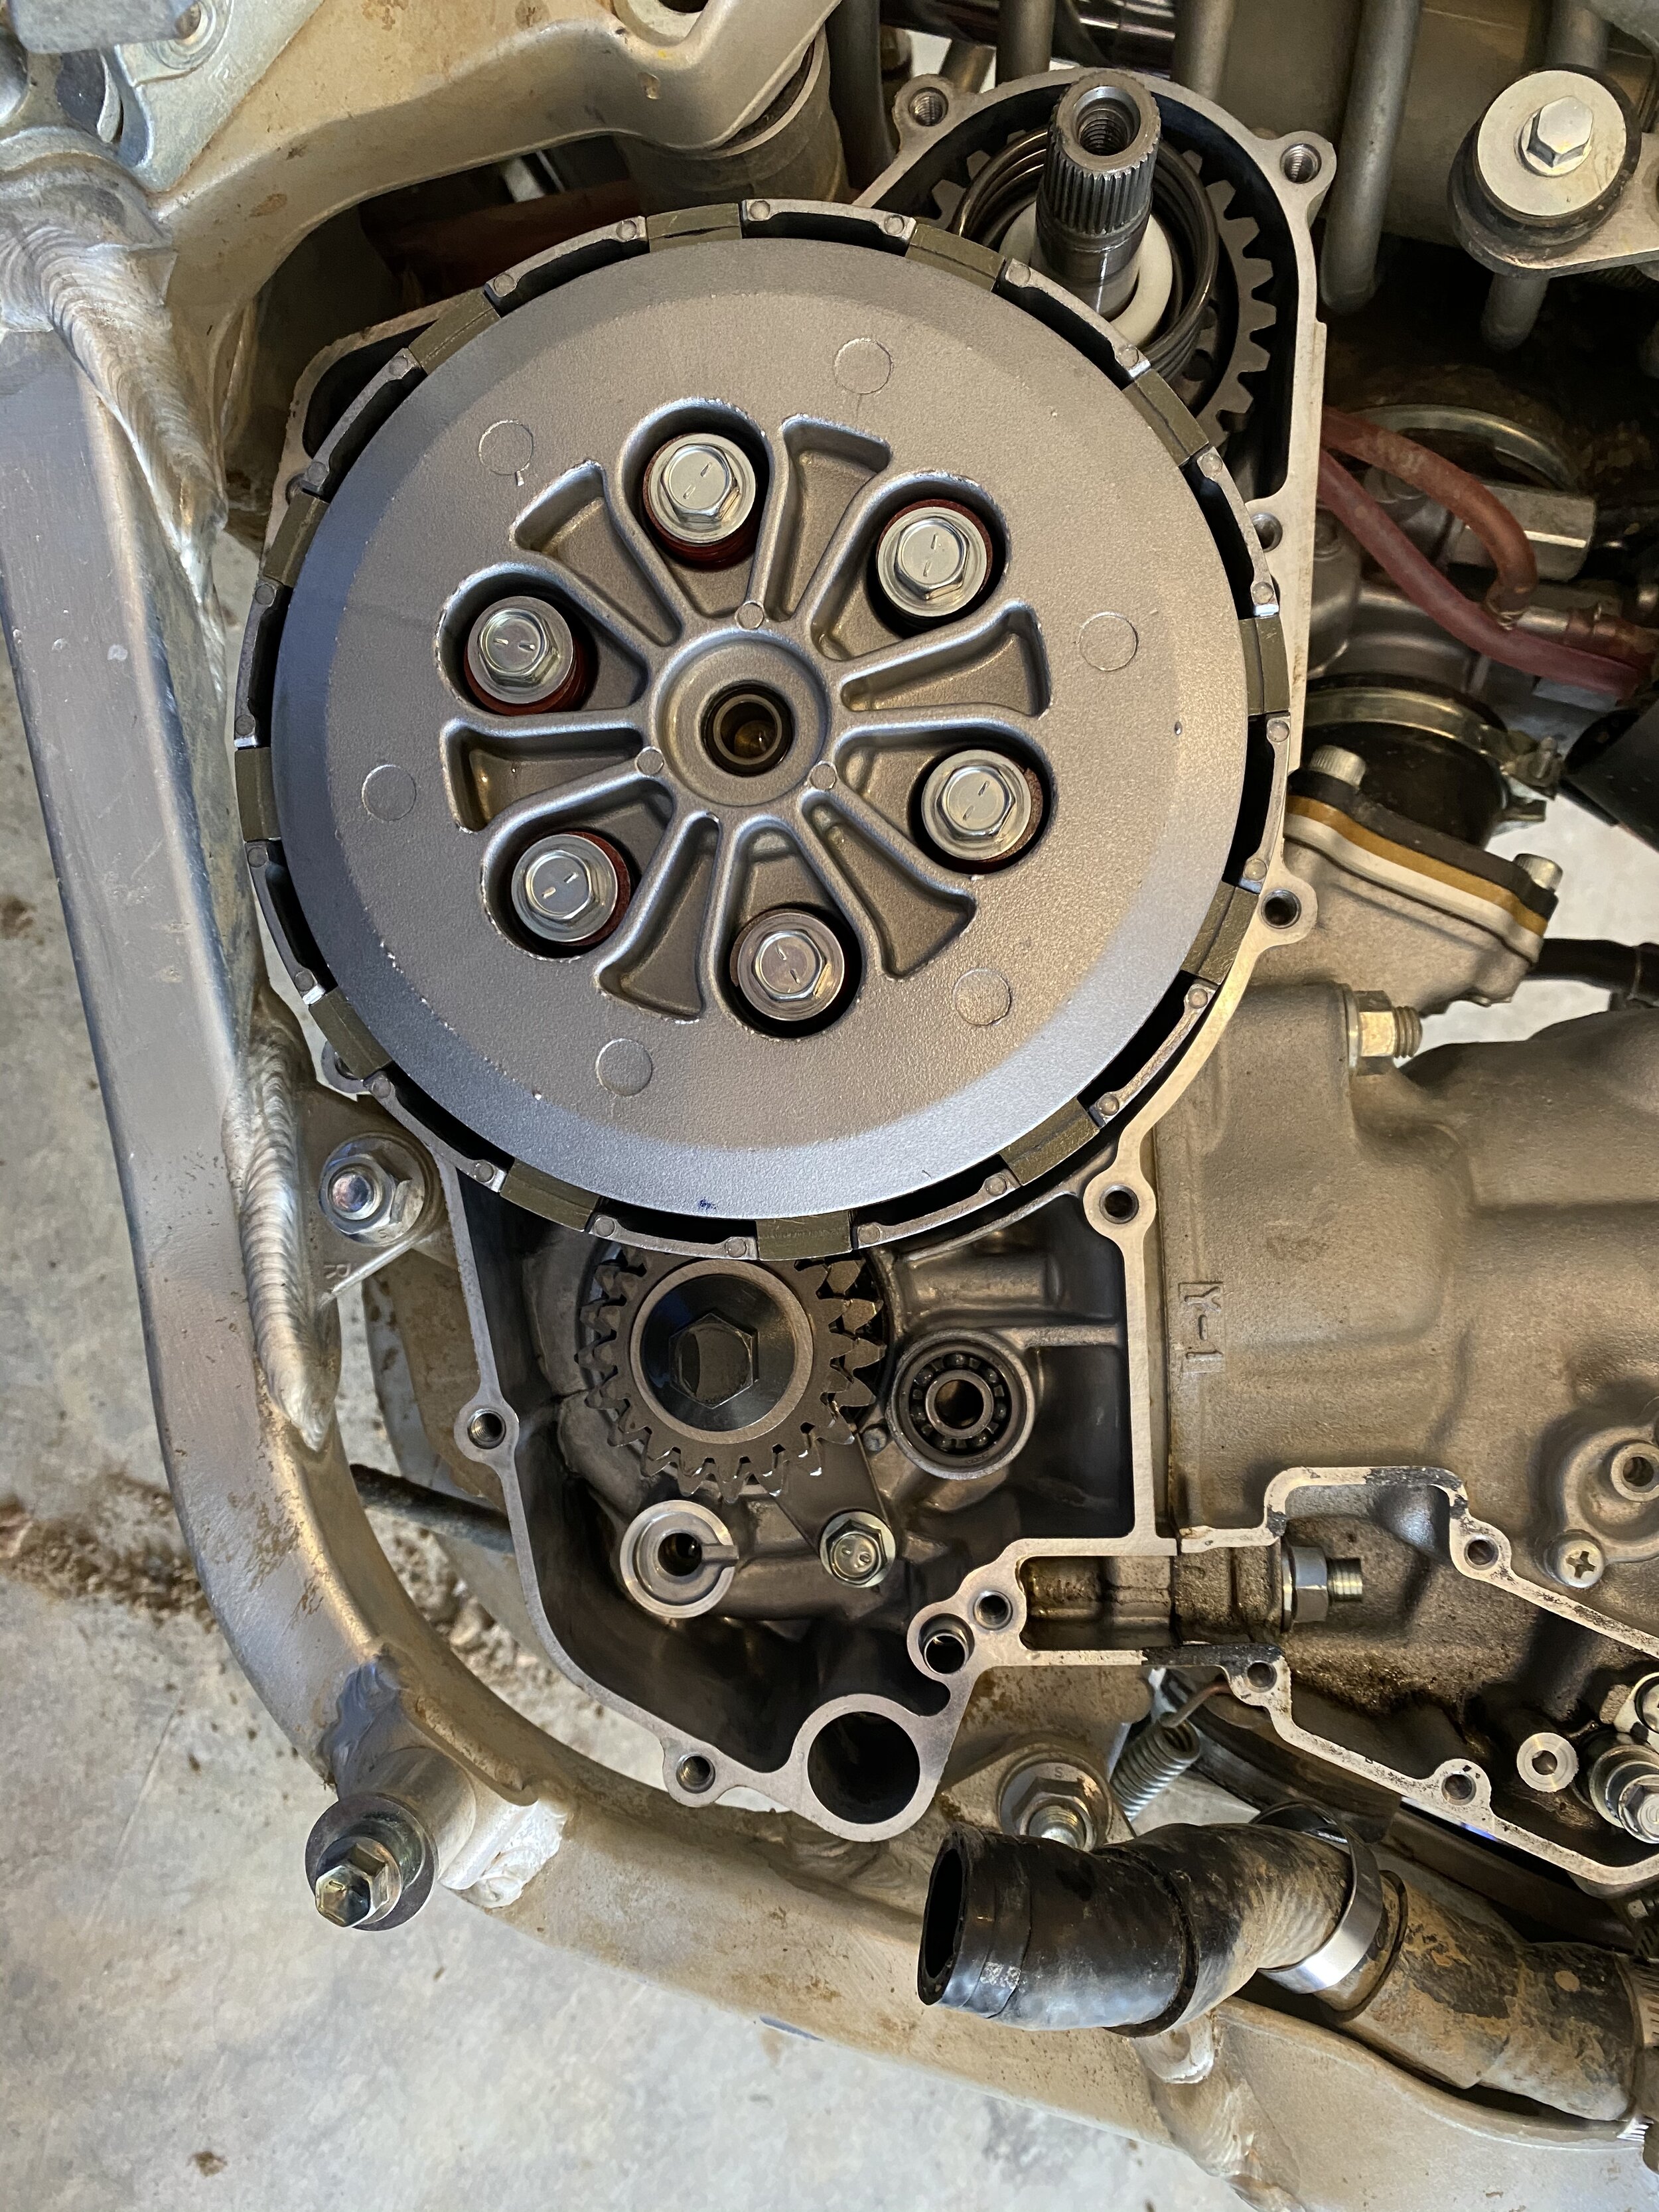
In order to get to the governor assembly you have to remove the right outside case cover. You can get the highlights of that process on the tech article I posted for fixing the YZ250(x) Shift Problems. The only differences are you don’t need to remove the clutch assembly at all, nor do you need to worry about anything with the shifter.
As far as tips from the process, here’s a few heads-up things to keep in mind:
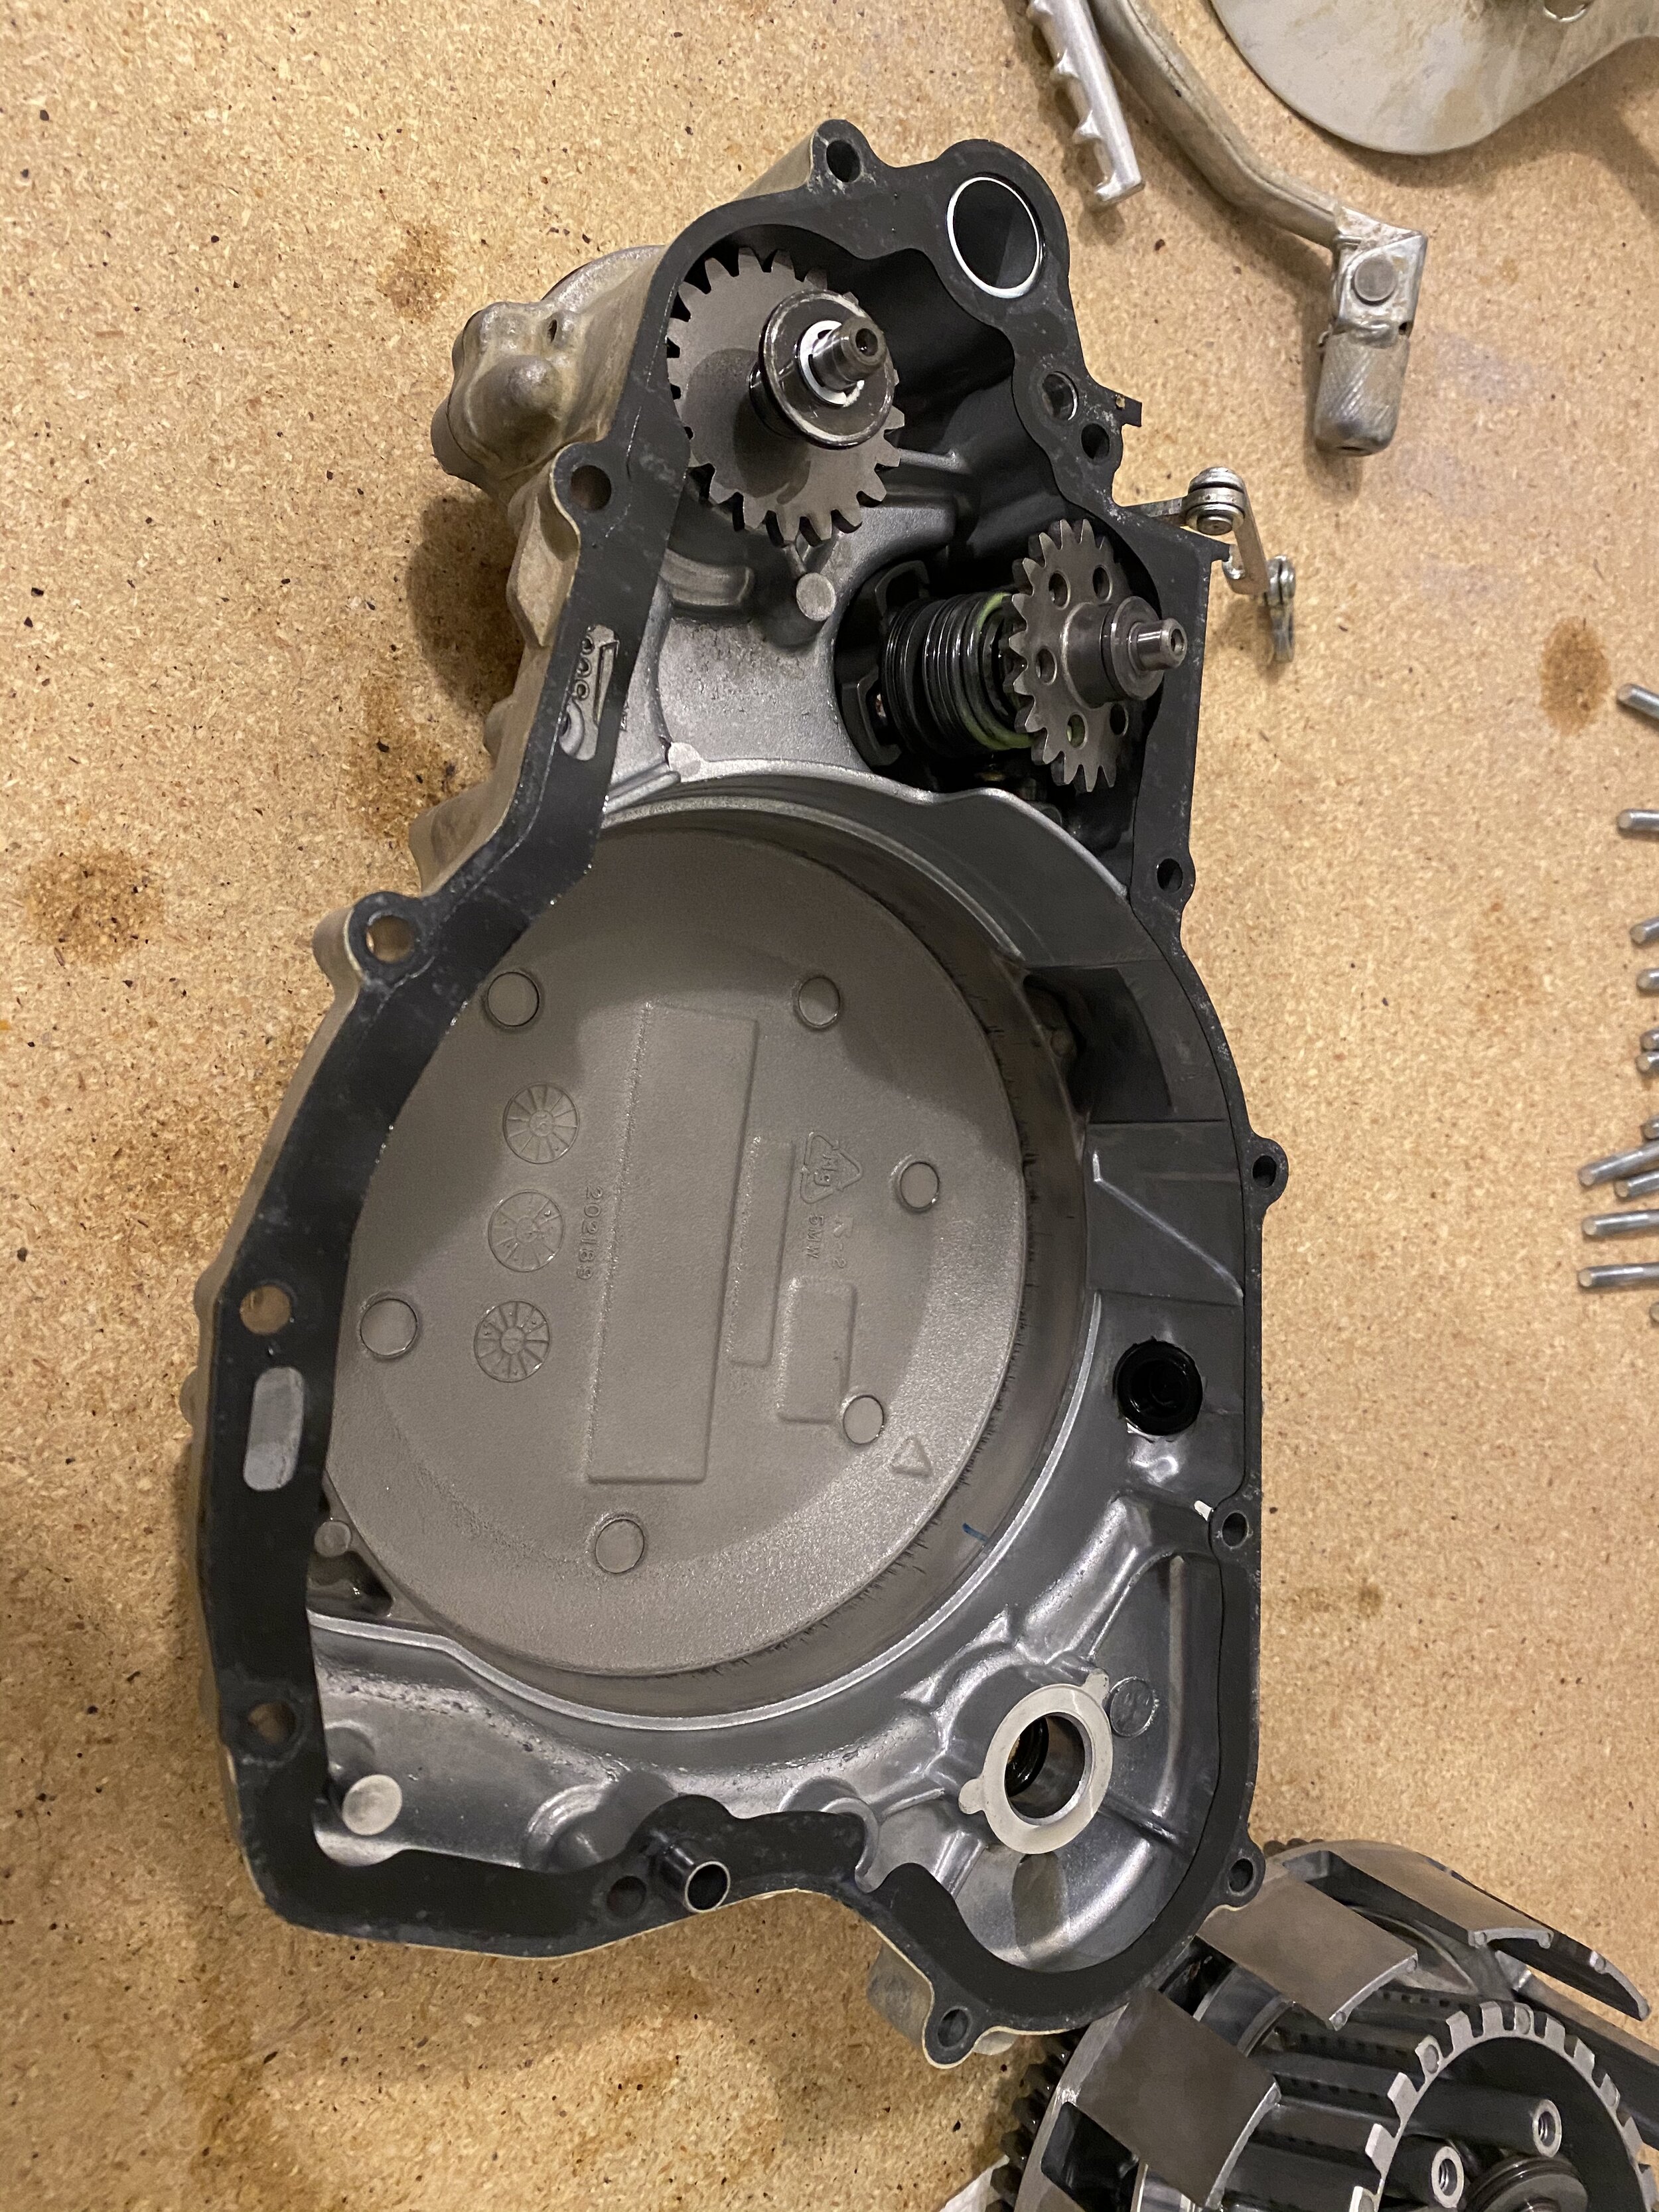
The governor sits in the outside case cover, you can flip the push rod out of the way to release the governor assembly. Before removing the assembly, pay attention to where the pushrod sits in relation to the governor assembly, you’ll need to know that when reassembling. If you’re like me and didn’t pay attention before taking it out, the manual shows where everything sits. The pushrod falls in the space provided by the collar (part #17 on the diagram).
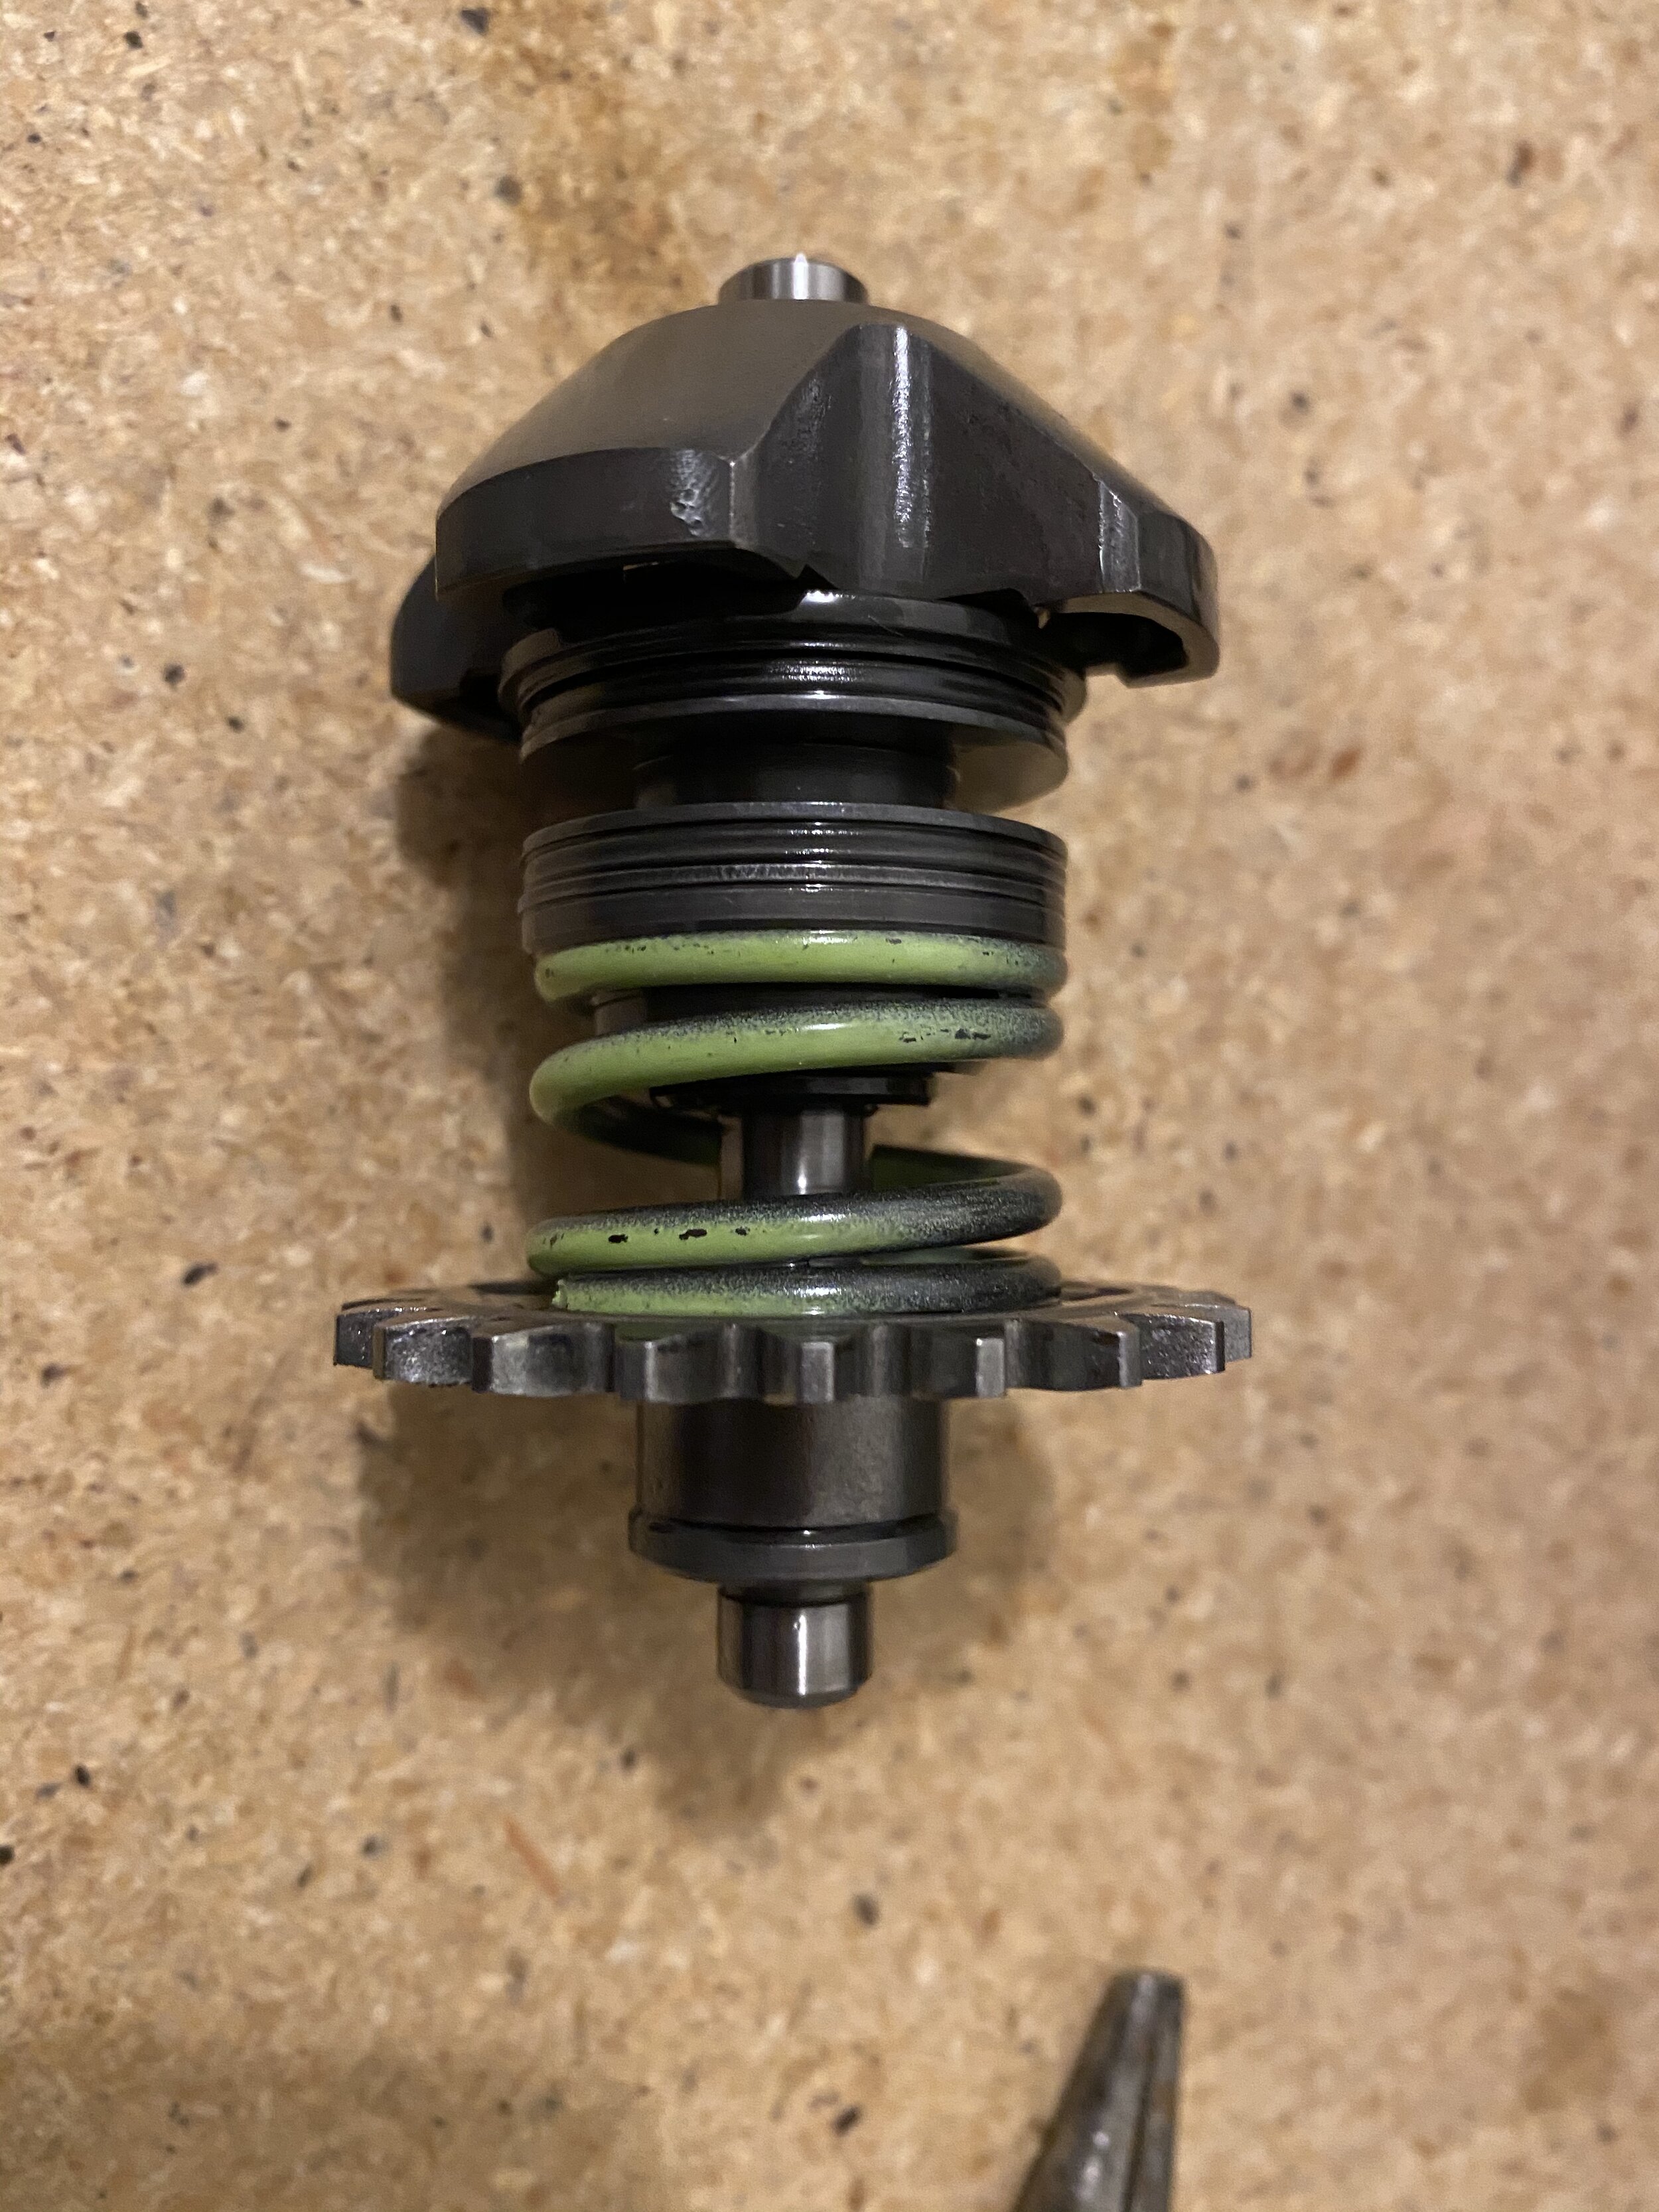
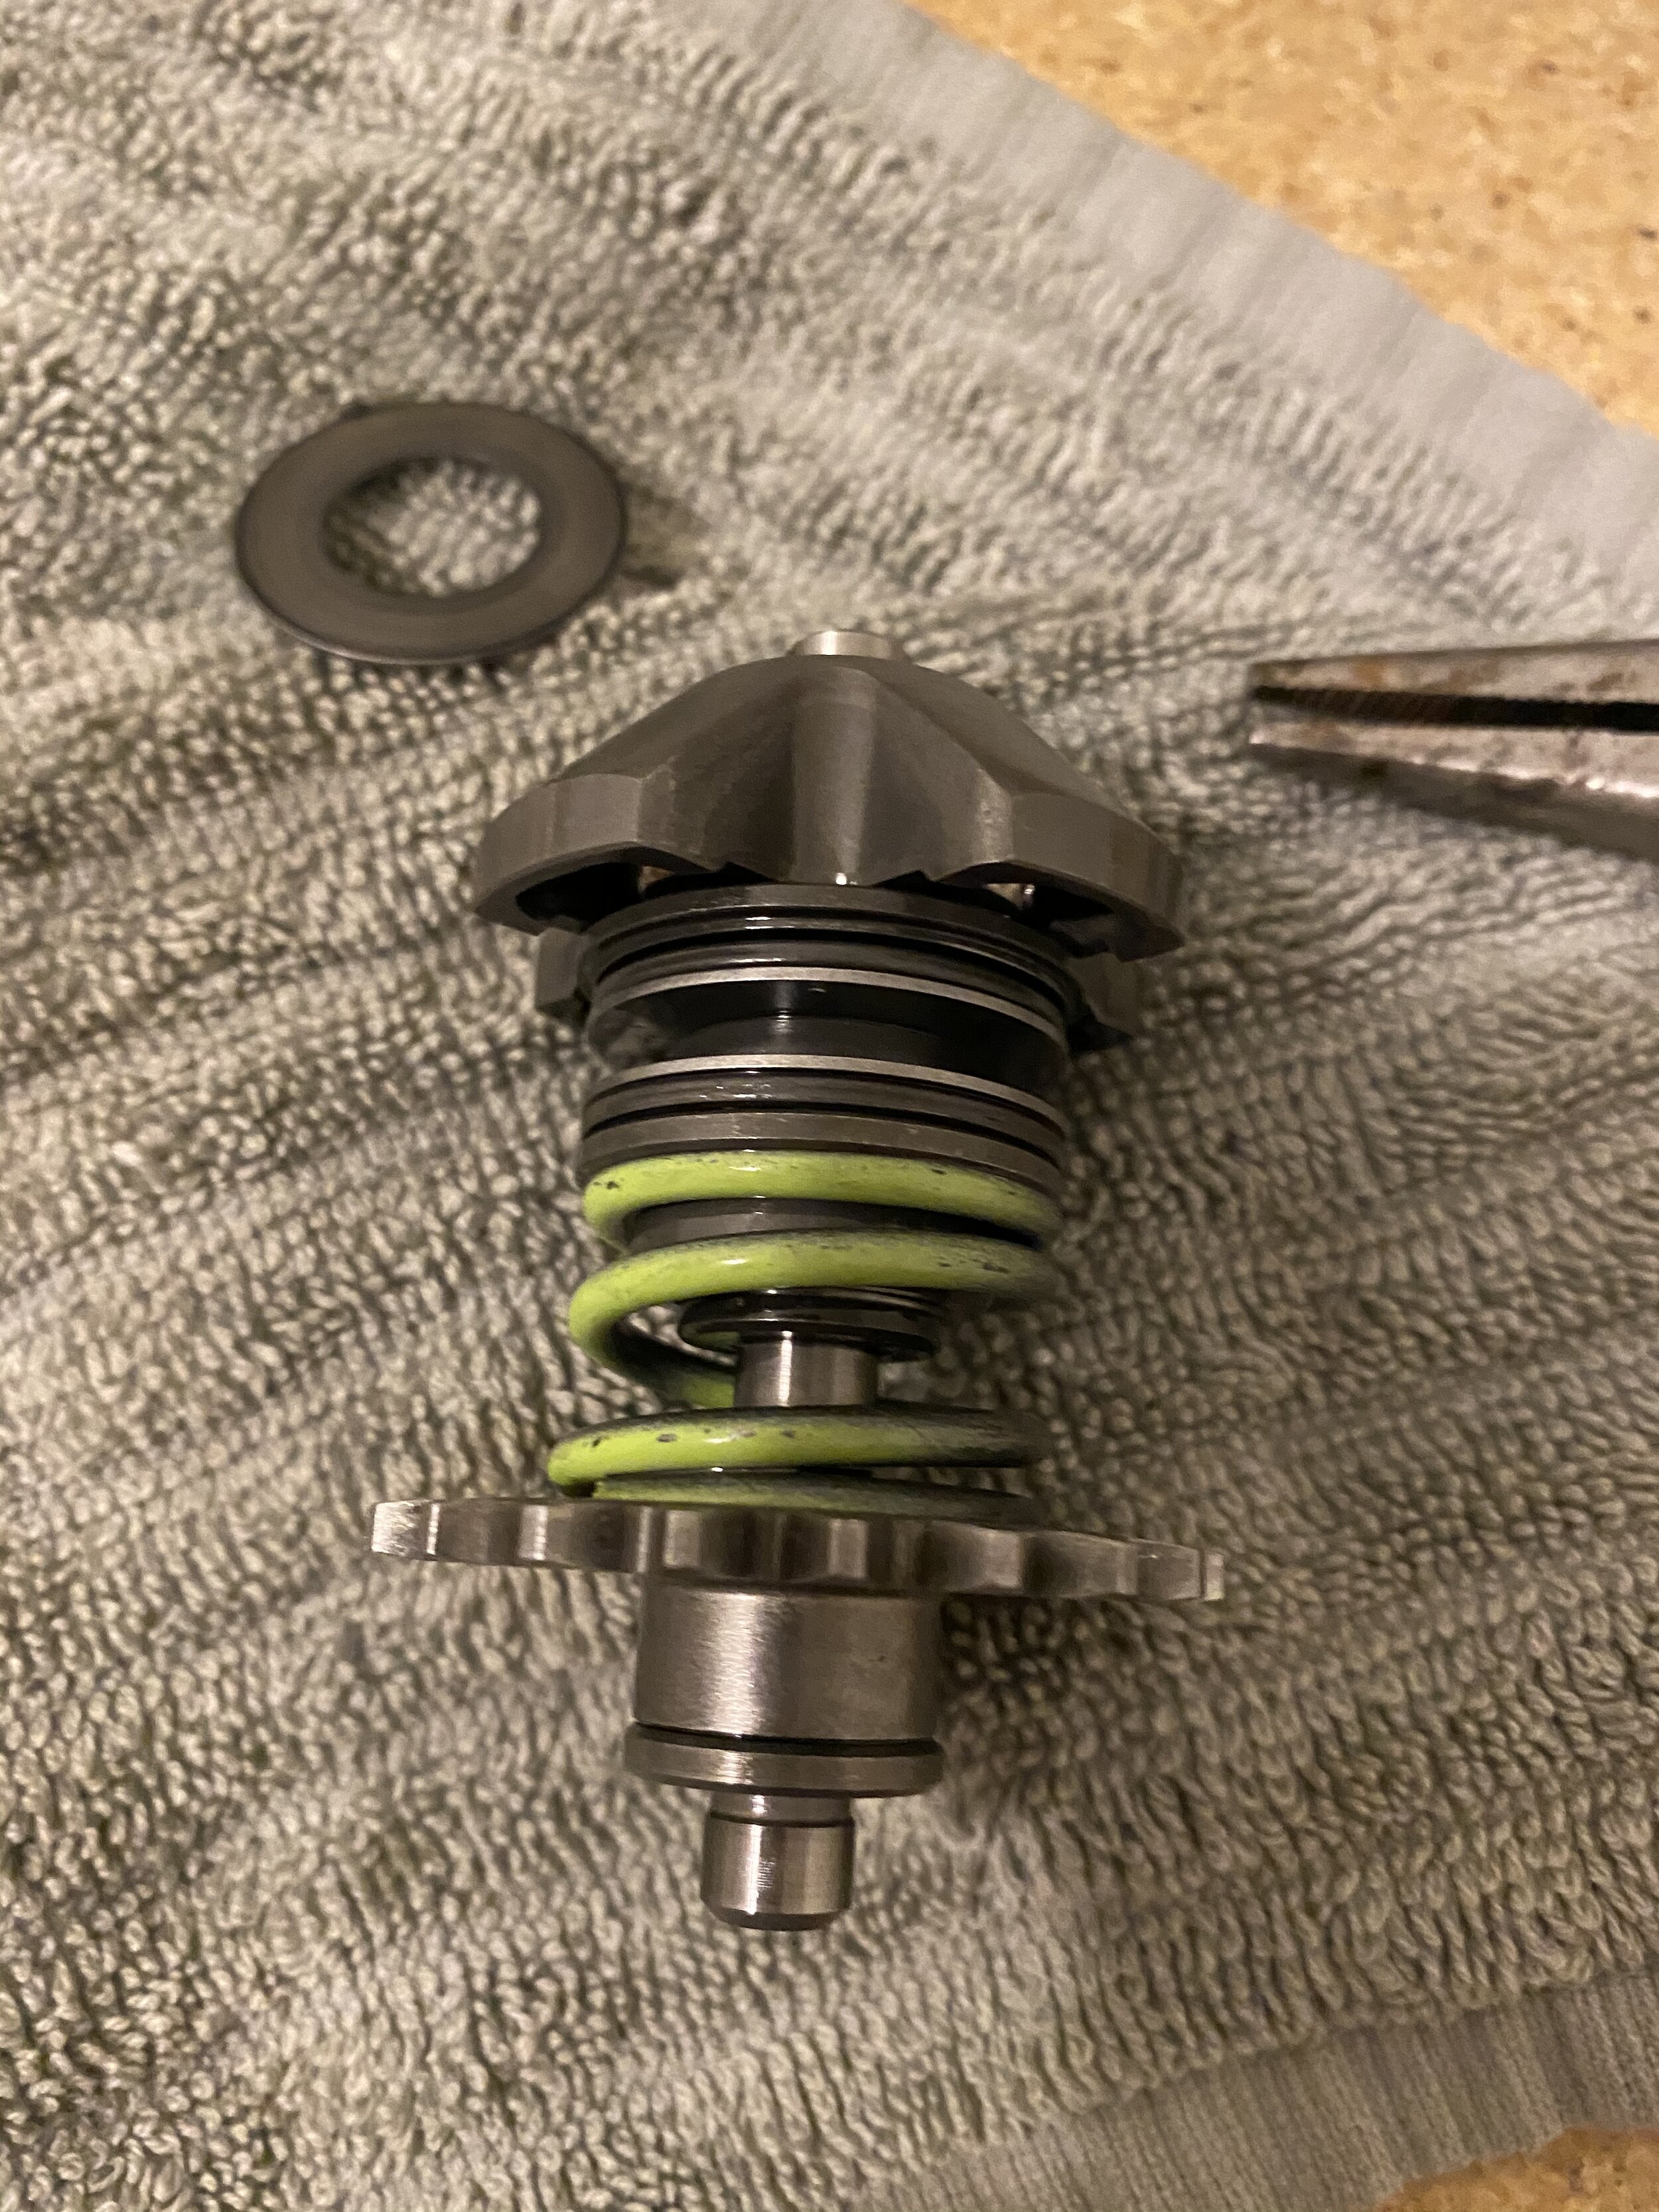
If you spent anytime at all looking through the forum threads copied above, you’ll know there’s a bit of confusion as to which washer is to be removed. The way the parts diagrams had to be broken out makes it hard to follow exactly which way everything mounts. The washer closest to the spring is what needs to be removed.
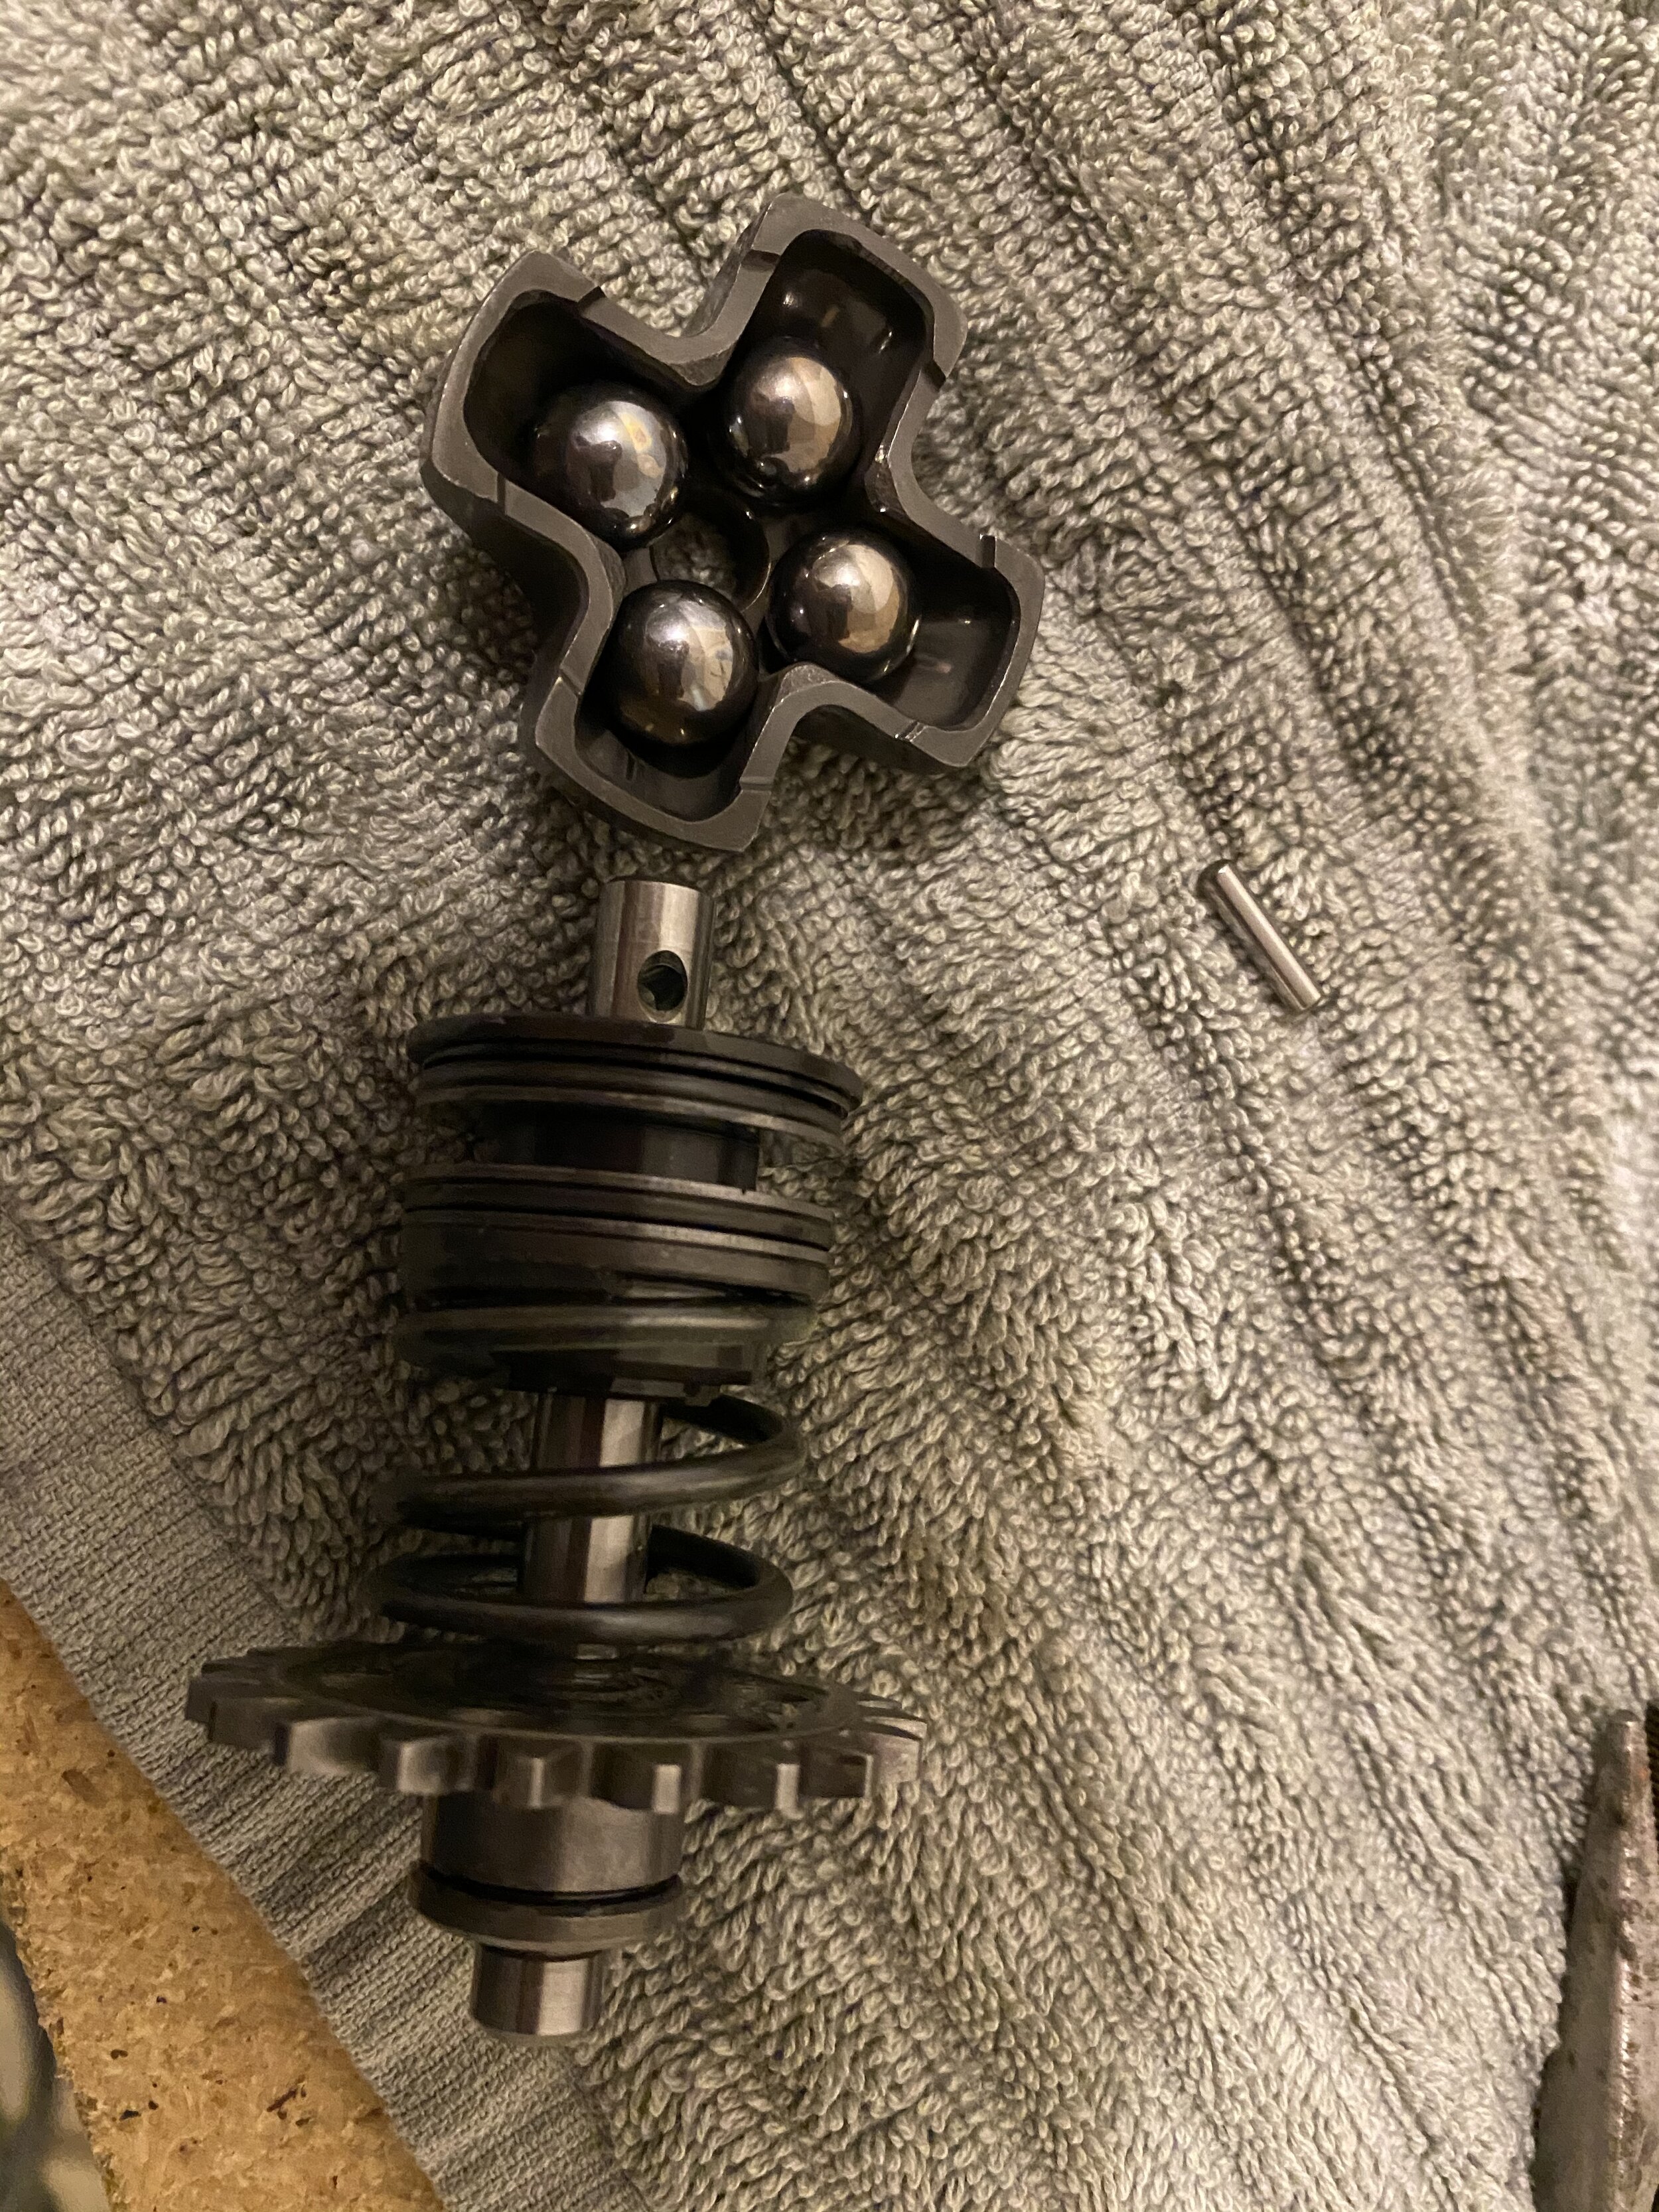
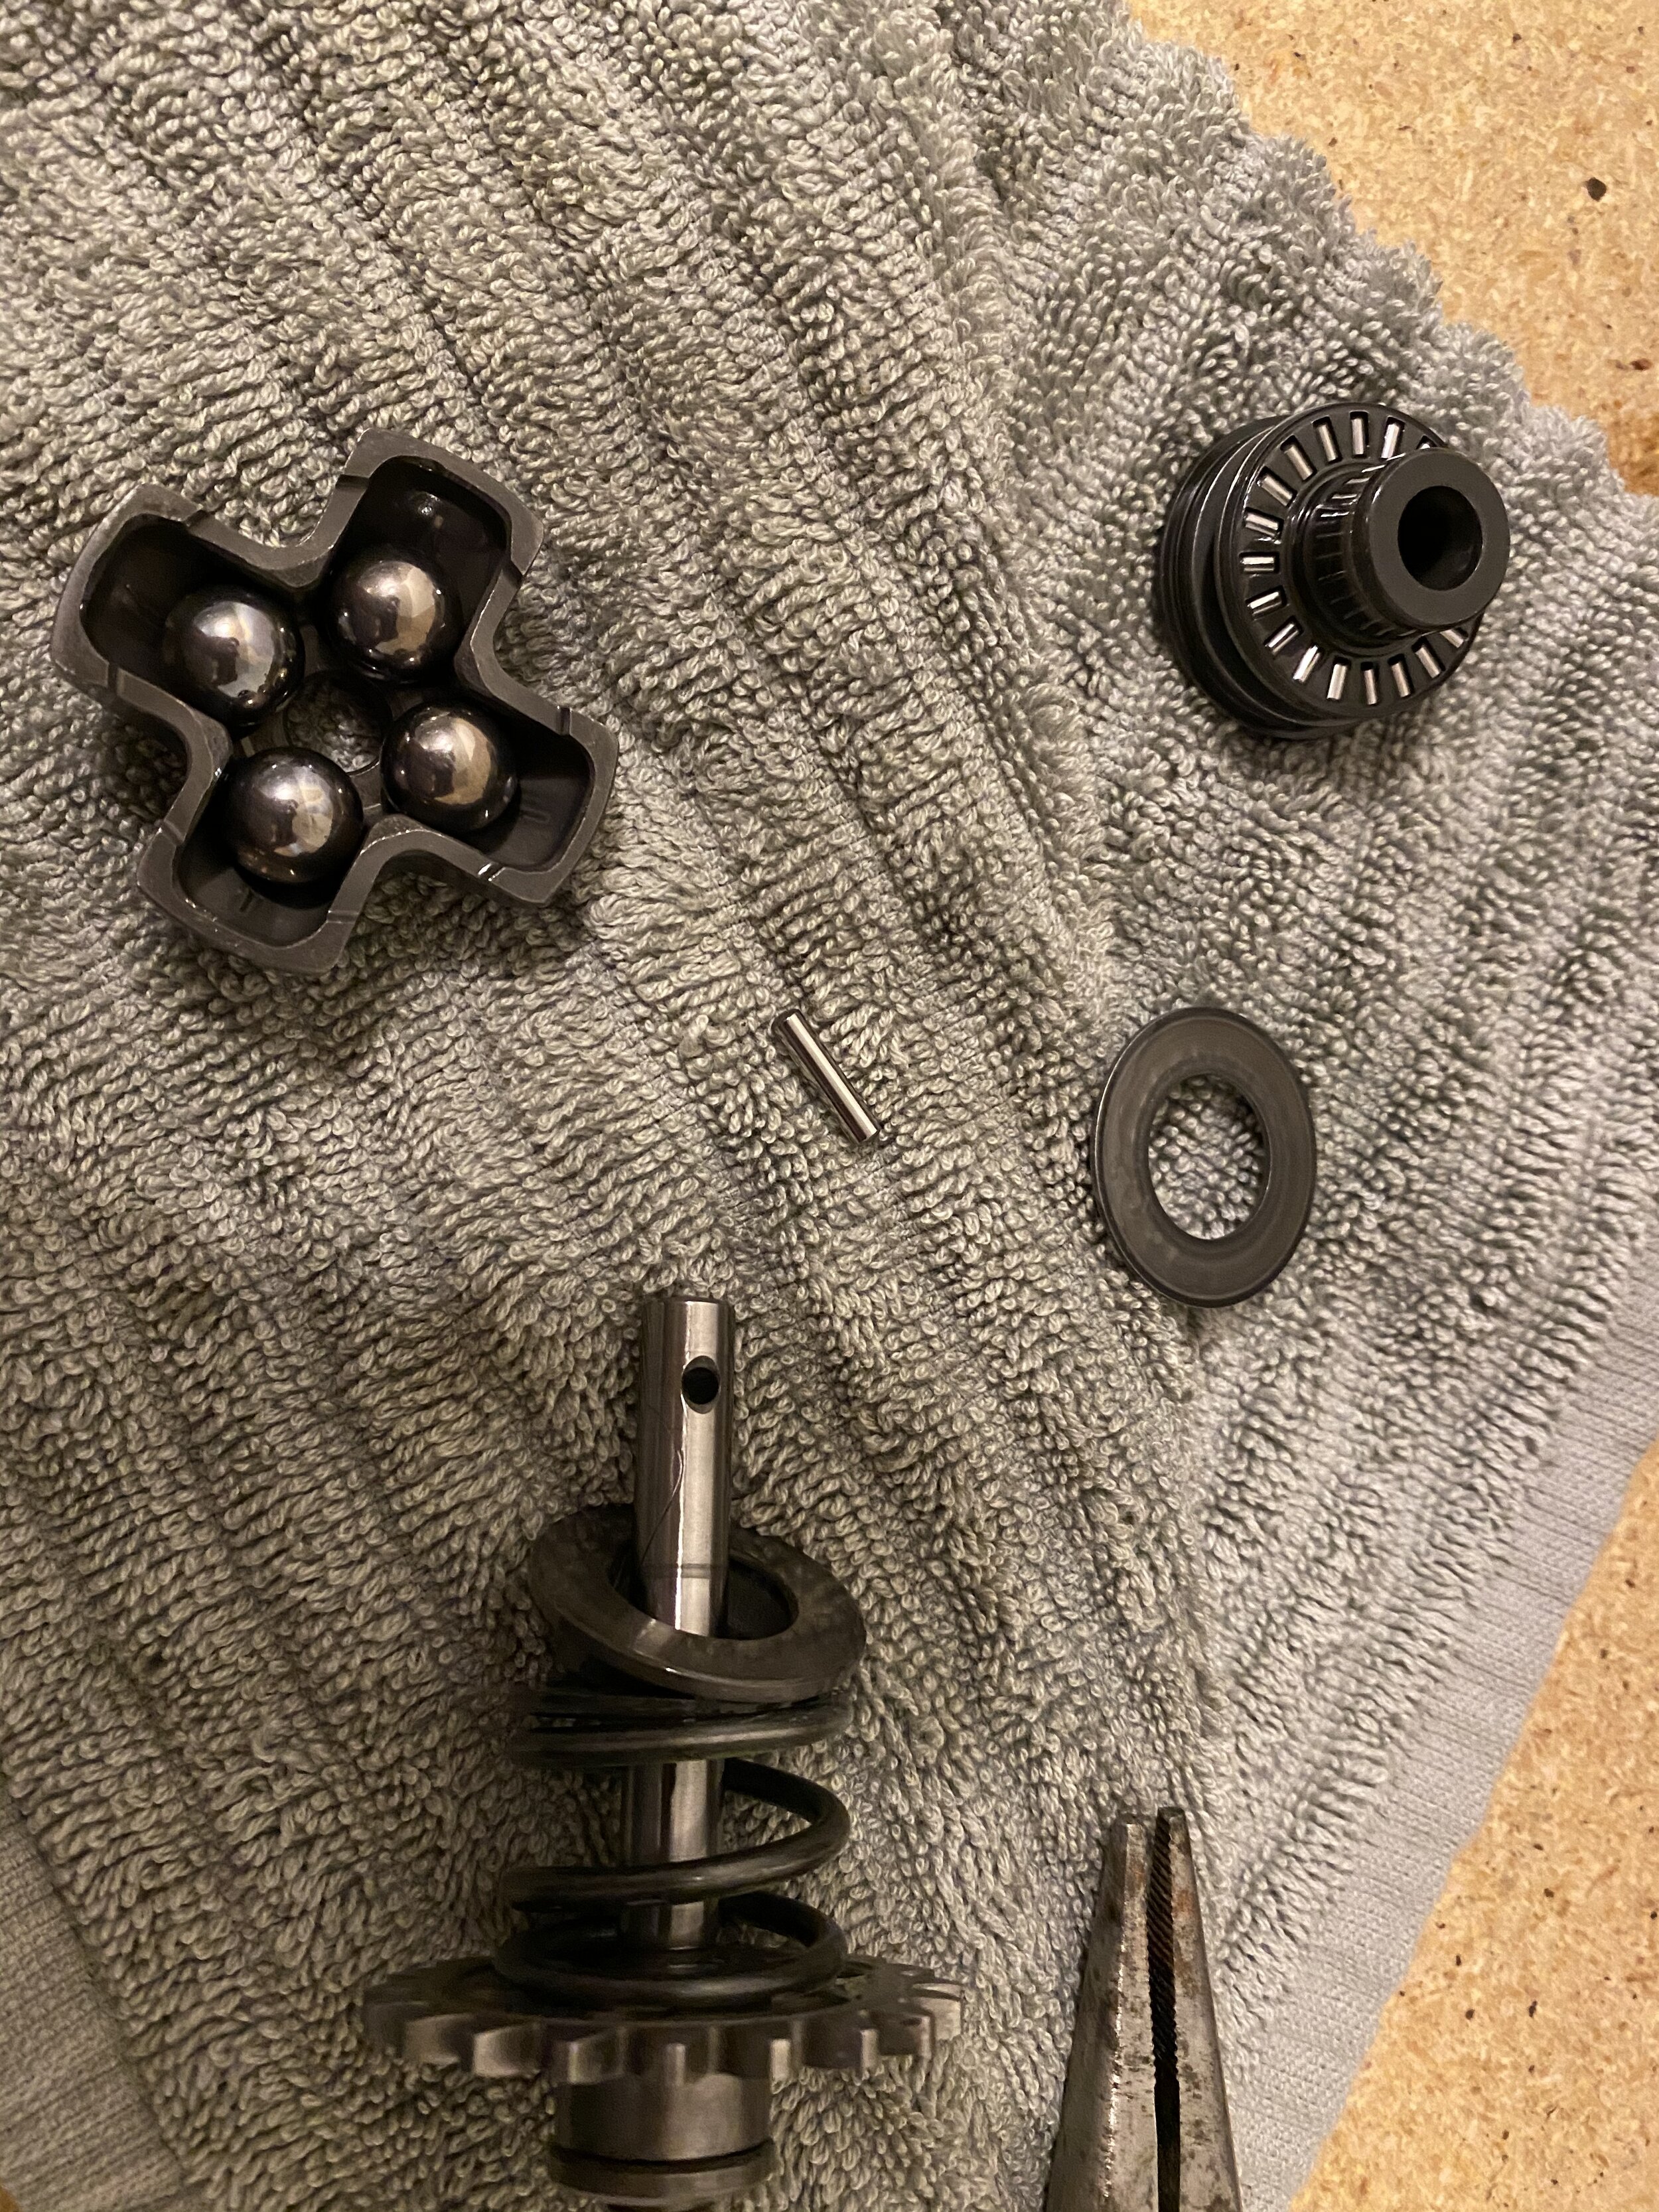
You need to compress the assembly to pull the dowel pin (#22 on the parts diagram) that’ll allow everything to come apart. This is kind of a pain and there’s not really any good way to go about it (the YouTube video I copied above gives a good rundown).
Watch for the needle bearings and ball bearings when disassembling! These are loose and will fly everywhere if you are not careful.
Don’t forget to make sure the outside case cover is seated completely before tightening any bolts (check the dowel pins!). The governor assembly actually prevents the case cover from sitting all the way against the case but this is only due to the spring and should be easily pressed fully against.
Getting all of the gears lined up is a bit tedious but there’s really no trick to it other than turning the engine over ever-so-slightly until everything meshes.
And that’s that! You’ve now got yourself an entirely new and improved powerband. For those of you that worry about the powervalve coming on sooner messes with the range of slow lugging ability of the engine, I think this is negated by the lack of sudden, less controllable hit later in the RPM range. Also, the good news is that this modification is easily reversed if you don’t like it, and cost you nothing if you did the work yourself. I can assure you, however, I have yet to find a situation where this revised engine character hurts the ability to get me out of the techy stuff.
The YZ’s tall gearing is probably the bigger issue in the most extreme of situations, not the power delivery. During wide open pulls during races, there was always a noticeable hesitation before coming onto the pipe. I thought that it was in the jetting but fortunately for this article, I’m too lazy to dig into the carburetor very much at all. Since doing the mod I have noticed that dead spot is completely gone, and I’ve read this same observation from others online as well.
In my opinion, this mod noticeably woke the engine up and also cleaned it up (less exhaust splooge!) without compromising anything elsewhere. It really is a win-win.